For the latest updates and improvements, see the latest Cloud documentation instead.
Bitbucket Server#
Follow the instructions below to set up the Codacy Self-hosted integration with Bitbucket Server.
Create a Bitbucket Server application link#
To integrate Codacy with Bitbucket Server, you must create an application link on your Bitbucket Server instance:
-
Since Bitbucket Server uses OAuth1, you need to create a key pair to sign and validate the requests between Codacy and the Bitbucket Server instance.
Create a key pair using the RSA algorithm in the PKCS#8 format by executing the command:
bash <(curl -fsSL https://raw.githubusercontent.com/codacy/chart/master/docs/configuration/integrations/generate-bitbucket-server-secrets.sh)Store the keys in a safe place for usage in the next steps and as a backup.
-
Open
<bitbucket server url>/plugins/servlet/applinks/listApplicationLinks, where<bitbucket server url>is the URL of your Bitbucket Server instance. -
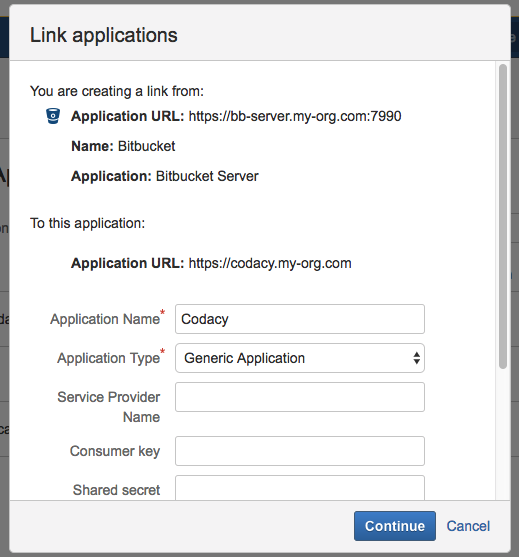
Create a new application link with the URL of your Codacy instance.

-
Fill in the fields:
- Application Name: Name of the application. For example,
Codacy. - Application Type: Select
Generic Application.
The remaining fields should be left blank.
- Application Name: Name of the application. For example,
-
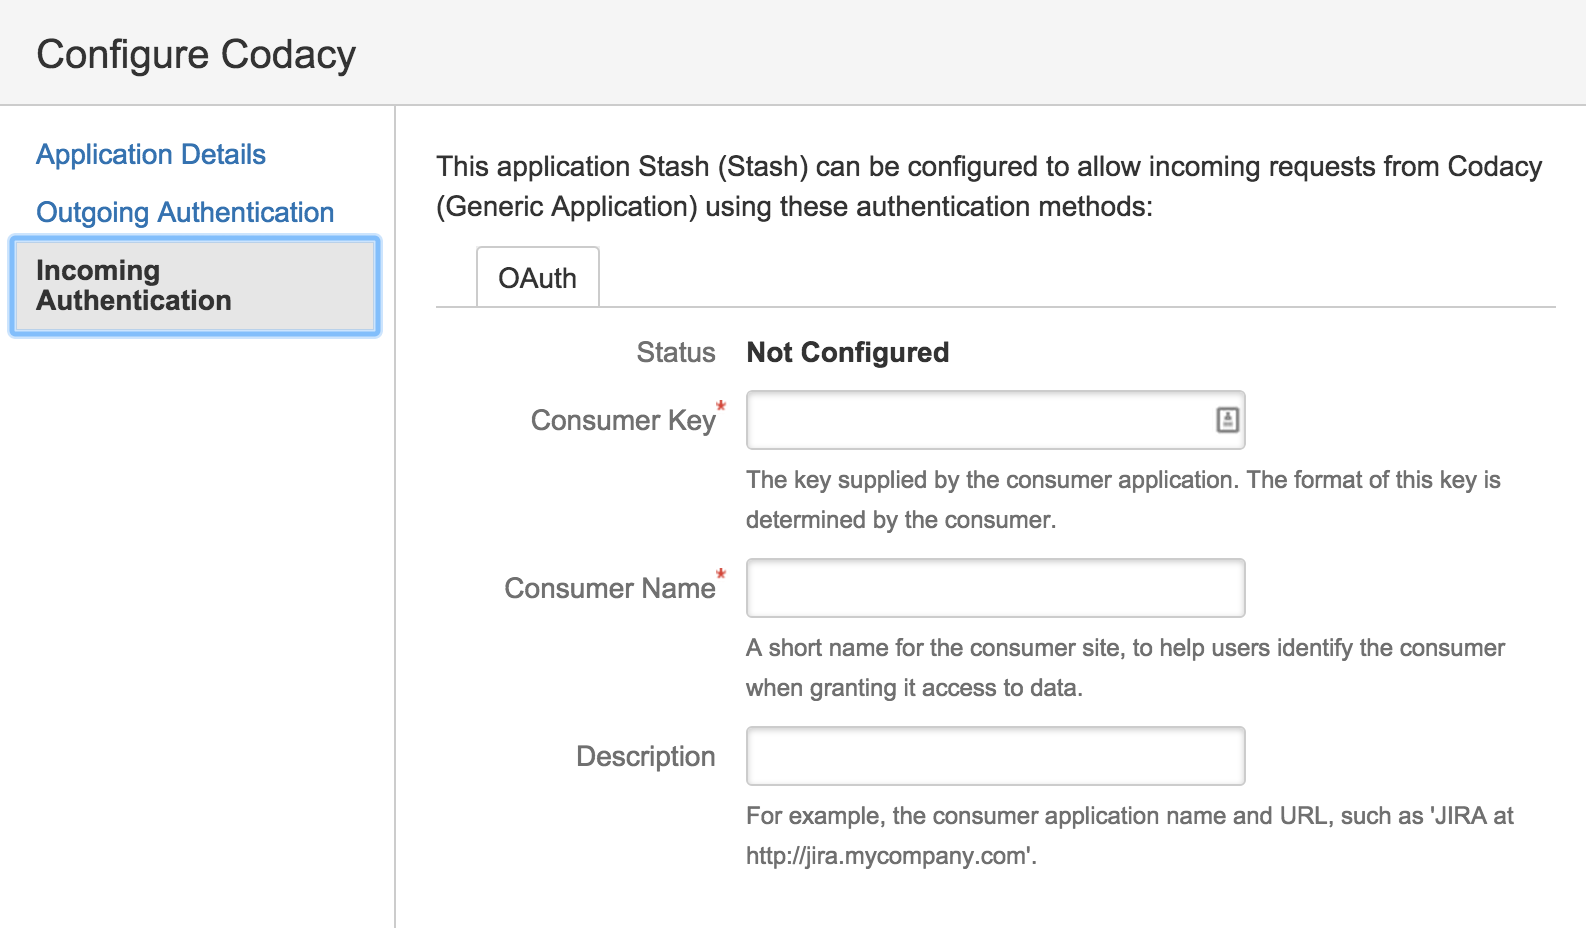
After creating the link, click Edit to add an incoming authentication.
-
Fill in the fields of the incomming authentication:
- Consumer Key: Enter the
consumerKeygenerated previously. - Consumer Name: Name of the consumer. For example,
Codacy. - Public Key: Enter the
consumerPublicKeygenerated previously.
The remaining fields should be left blank.
- Consumer Key: Enter the
Configure Bitbucket Server on Codacy#
After creating the Bitbucket Server application link, you must configure it on Codacy:
-
Edit the file
values-production.yamlthat you used to install Codacy. -
Set
global.bitbucketEnterprise.enabled: "true"and define the remaining values as described below and with the information obtained when you created the Bitbucket Server application link:bitbucketEnterprise: enabled: "true" login: "true" # Show login button for Bitbucket Server hostname: "bitbucket.example.com" # Hostname of your Bitbucket Server instance protocol: "https" # Protocol of your Bitbucket Server instance port: 7990 # Port of your Bitbucket Server instance consumerKey: "" # Generated when creating the Bitbucket Server application link consumerPublicKey: "" # Generated when creating the Bitbucket Server application link consumerPrivateKey: "" # Generated when creating the Bitbucket Server application link -
Apply the new configuration by performing a Helm upgrade. To do so execute the command used to install Codacy:
Important
If you're using MicroK8s you must use the file
values-microk8s.yamltogether with the filevalues-production.yaml.To do this, uncomment the last line before running the
helm upgradecommand below.helm upgrade (...options used to install Codacy...) \ --version 5.0.0 \ --values values-production.yaml \ # --values values-microk8s.yaml
After this is done you will be able to use Bitbucket Server to authenticate to Codacy.
Share your feedback 📢
Did this page help you?
Thanks for the feedback! Is there anything else you'd like to tell us about this page?
255 characters left
We're sorry to hear that. Please let us know what we can improve:
255 characters left
Alternatively, you can create a more detailed issue on our GitHub repository.
Thanks for helping improve the Codacy documentation.
If you have a question or need help please contact support@codacy.com.